de vita sua
a blog
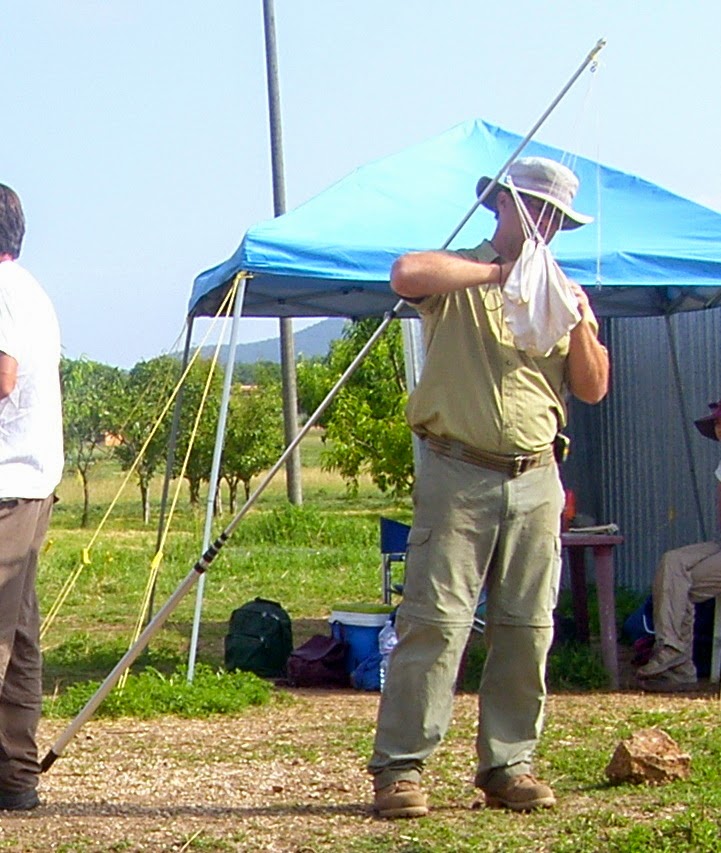
Pole Aerial Photography on an archaeological dig
by John Muccigrosso
A recent post by Chiz Howard over at the Urban Archaeology blog covers his efforts to make a pole-mounted camera. I figured I'd share my own experience doing something similar on our site in Italy.I was mainly interested in getting better quality overhead shots for archival purposes, so what I wanted was a camera view of as close to perpendicular to the ground as I could get, and, ideally, from a fairly high vantage point to include as much ground as possible. It turns out—not surprisingly, in retrospect—that there's a whole community of people out there on the internet who do this sort of thing (PAP, for "pole aerial photography, not to be confused with KAP for "kite"), so I didn't need to re-invent the wheel on this.
 |
| PAP in action, with our former apparatus in Paolo's hand in foreground. (Image by John D. Muccigrosso CC BY-NC-SA 4.0) |
My choices were also partly informed by a very practical reality: I had to get this stuff to Italy from the US, since I wanted to test it before going, and I wasn't sure I could get everything once in Italy and I certainly didn't want to have to pay for extra shipping. (Honestly, I hadn't tested far enough in advance to trust the Italian mail to get it to me either.) There is a big Home Depot-type place (Leroy Martin) about 45 minutes away, but I wasn't going to take a chance on them having what I needed.
The Rig
The Camera
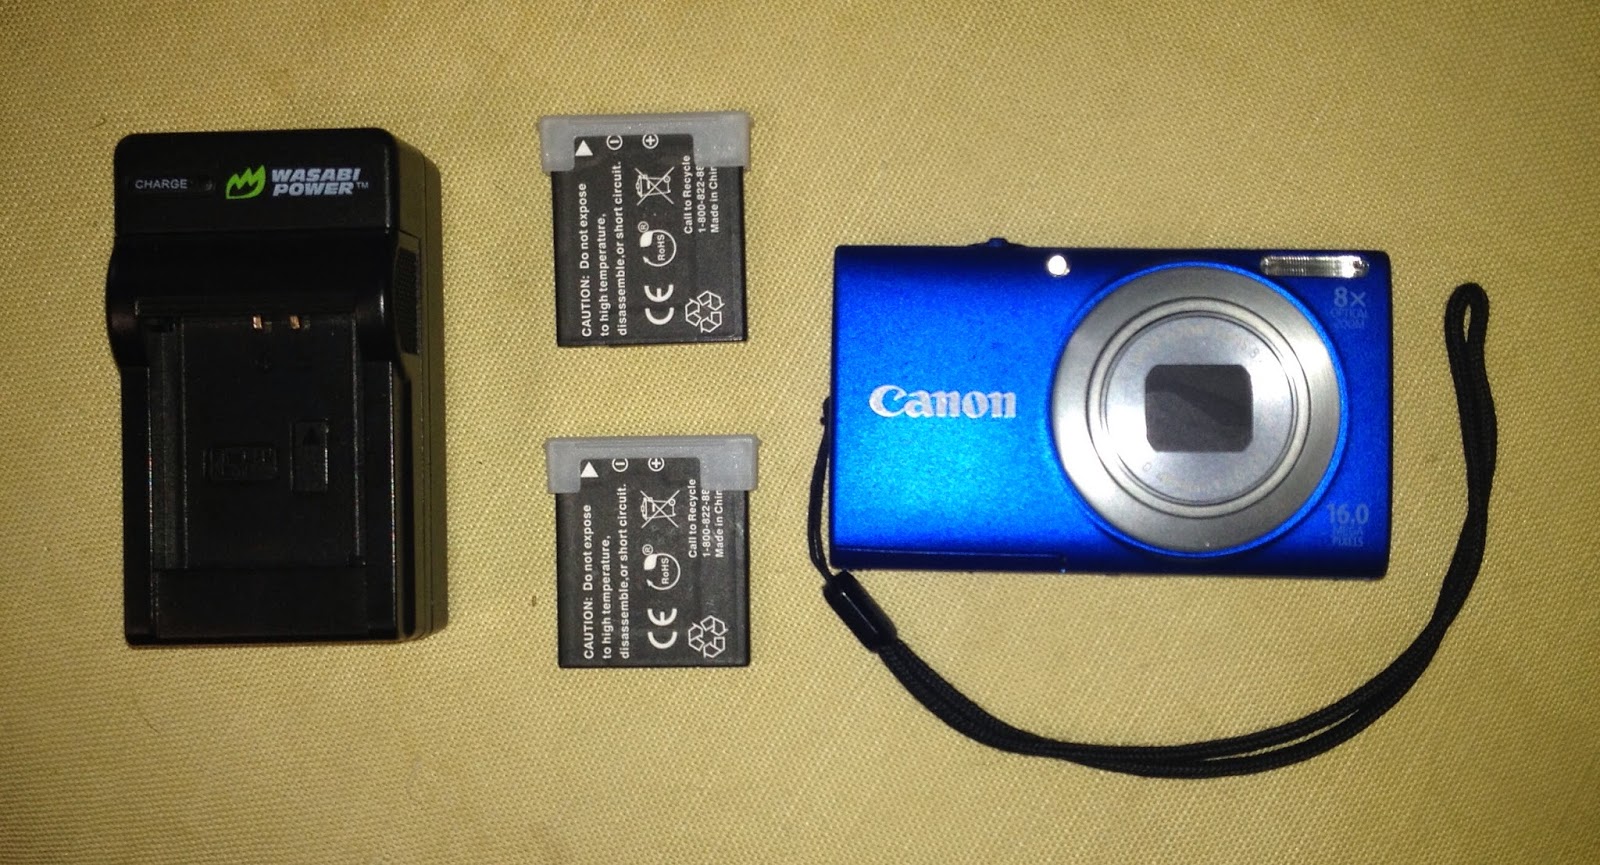 |
| Camera equipment (Image by John D. Muccigrosso CC BY-NC-SA 4.0) |
Since most pictures were taken in full daylight during the Italian summer, the auto setting on the camera resulted in a low ISO, small f-stop and fairly short shutter speed. For example, in the shot below (as you can see from the embedded EXIF), the ISO was 100, shutter speed 1/1000, and f-stop 3. All of which means I didn't have to worry about the photos being out of focus because of any slight movement in the pole, though the picavet works to dampen those anyway. Just to be sure though, I forced the camera to use ISO 100. The intervalometer program I linked to above also allows you to set a minimum shutter speed and aperture, so you can make sure to get good photos in more marginal lighting conditions. Yet another advantage of the A4000 is a large depth of field, another thing that works to mitigate focus problems.
The Pole
 |
| Me setting up with partially collapsed pole (Image by John D. Muccigrosso CC BY-NC-SA 4.0) |
The travel and shipping considerations meant that a lot of the options for poles were out of consideration, unless I wanted to pay for extra shipping or baggage. In the end I went with a 6m (20') collapsible flagpole. Since the camera only weights about 150g (6 ½ oz), I figured that was a lot less than any flag in the wind. It came in a box that was under the "big" baggage limits for the airlines, so I could take it with me without a problem.
The Mount
For attaching the camera to the pole, I decided to go with a picavet, an apparatus that would keep the camera perpendicular to the ground. This requires two attachment points to the pole, and conveniently enough the flagpole shipped with several adjustable mounts. Out of concern for weight I decided to use a cloth picavet.
Conclusion
I ended up being very happy with the results. Not only did we get better overheads than in previous years, from a greater distance and better quality, but they were easier to get, meaning that we took a lot more of them. I was also able to do some photomosaicking with the photos, as I wrote in my last post, which was very nice. (In fact I'm working on a larger-scale one now; food for a future post.) For the future, I'm going to try to make a rigid picavet from plywood or aluminum. The cloth is handy and works, but it gets a bit messy with all the string around. I'd also like to use WIFI SD cards, as I wrote above, so I don't have to keep taking the card in and out.
 |
| Overhead of the crew at work. 5m or so wide. (Image by John D. Muccigrosso CC BY-NC-SA 4.0) |
Tags